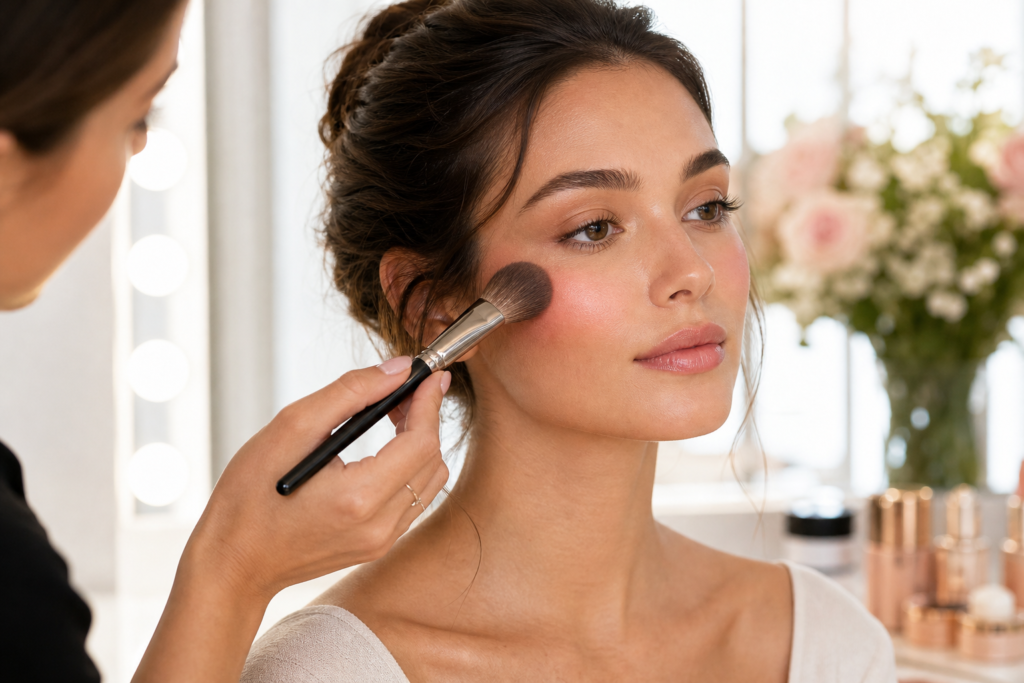
Blush can completely change the look of your makeup. A small amount of color on the cheeks can make the face look fresher, more balanced, and more polished. At the same time, blush is one of the easiest products to overapply or place in the wrong spot. If you have ever felt unsure about where blush should go, which formula to choose, or how to keep it from looking patchy, a simple method can make a big difference.
This guide explains how to apply blush step by step, how to choose the right shade and formula, and which common mistakes to avoid for a softer, more natural result.
Why blush matters in a makeup routine
Foundation and concealer often create an even base, but they can also reduce the natural dimension and color of the face. Blush helps bring that life back. It adds warmth or freshness to the complexion and can even help support the overall shape of your makeup look.
Depending on placement and shade, blush can create a youthful glow, a lifted appearance, or a soft romantic finish. The key is not using a lot of product, but using the right amount in the right area.
Choose the right blush formula
Before applying blush, it helps to know which formula fits your skin type and makeup style.
Powder blush
Powder blush is often the easiest option for beginners. It blends well, is easy to build gradually, and works especially well over set foundation or powder.
- Good for oily or combination skin
- Easy to control and layer
- Works well with fluffy blush brushes
Cream blush
Cream blush creates a softer, more skin-like finish. It can look very natural and fresh, especially on bare skin or lighter base makeup.
- Good for normal or dry skin
- Blends well with fingers, sponge, or dense brush
- Can give a dewy finish
Liquid blush
Liquid blush is often highly pigmented, so a little goes a long way. It can look beautiful, but it usually requires a light hand and quick blending.
- Can create a natural radiant look
- Best applied in small amounts
- May need practice to avoid overapplication
How to choose a flattering blush shade
You do not need a huge blush collection to get good results. A few flattering shades are usually enough.
- Soft pinks often create a fresh, classic cheek color
- Peach shades can add warmth and brightness
- Rose tones can look elegant and balanced
- Mauve shades can feel softer and more muted
- Berry or deeper terracotta tones can add richness and depth
One useful rule is to choose a shade that looks like a natural flush on your skin. If you are unsure, start with a muted tone rather than a very bright one. It is easier to build color than to remove too much.
Tools that help blush apply more evenly
The tool you use affects how blush looks on the skin.
- A fluffy angled brush is great for powder blush and soft placement
- A small dense brush gives more control and stronger color payoff
- A makeup sponge can soften both cream and liquid blush
- Clean fingertips work well for tapping cream blush into the skin
Whatever tool you use, clean application usually gives better results. Product buildup on brushes or sponges can make blush look muddy or uneven.
Step-by-step: how to apply blush
1. Finish your base first
Apply your skin tint, foundation, concealer, or other base products before blush. If you use powder blush, lightly set the skin first if needed. If you use cream or liquid blush, it usually works best before heavy powder.
2. Pick up a small amount of product
Start with less than you think you need. Tap excess powder off the brush, or use only a tiny dot of cream or liquid blush. Blush is easier to build than to fix after applying too much.
3. Find the right placement
For a natural everyday look, place blush slightly above the fullest part of the cheek and blend upward toward the temples. This tends to look fresh and softly lifted.
If you want a rounder, sweeter look, keep blush more on the apples of the cheeks, but avoid placing it too low. Blush placed too close to the jaw can pull the face downward.
4. Blend the edges
Use light sweeping or tapping motions to diffuse the color. There should be no obvious stripe or sharp edge. The blush should fade gently into the skin.
5. Build gradually
After blending the first layer, step back and check the color in natural light if possible. Add more only if needed. Building in thin layers helps prevent patchiness and makes the result look more natural.
6. Balance both sides
Apply blush to one cheek, then the other, using similar amounts. Looking straight into the mirror after each step can help keep placement even.
Where blush should go for different effects
For a natural everyday look
- Place blush on the upper cheek area
- Blend back toward the temples
- Keep the color soft and diffused
For a lifted look
- Avoid placing blush too low or too close to the center of the face
- Focus color slightly higher on the cheeks
- Blend upward rather than outward only
For a sun-kissed look
- Lightly sweep blush across the cheeks and a touch over the nose
- Use warm peach or rosy tones
- Keep the finish sheer and soft
Common blush mistakes and how to avoid them
Using too much product at once
This is the most common blush mistake. Always start lightly, especially with very pigmented formulas.
Choosing a shade that is too bright or too dull
If the shade stands out before it is blended, it may be too intense for the look you want. If it disappears completely, it may be too muted or too similar to your base tone.
Placing blush too low
Blush placed low on the cheek can make the face appear dragged down. A slightly higher placement usually looks fresher.
Applying over a base that is not compatible
Cream or liquid blush can sometimes disturb heavy powder underneath. Powder blush can also catch on skin that is too wet or unset. Matching formula order helps everything blend more smoothly.
Not blending enough
Even the perfect blush shade can look harsh if the edges are left unblended. Take a few extra seconds to soften the finish.
How to fix blush if you applied too much
Too much blush does not mean you need to start over. Try one of these simple fixes:
- Use a clean brush to buff the edges
- Tap over it with a sponge used for foundation
- Add a light layer of face powder to soften the intensity
- Apply a little foundation or skin tint around the edges to blend it back into the base
The goal is to diffuse the color, not scrub it away.
Blush tips for beginners
- Start with powder blush if you want the easiest learning curve
- Choose a soft pink, peach, or rose shade for versatility
- Use natural light when possible to check placement
- Apply less than you think you need
- Blend before deciding whether to add more
- Practice placement with a light hand instead of chasing perfect symmetry
Final thoughts
Blush does not need to be complicated. Once you understand formula, placement, and blending, it becomes one of the easiest ways to make makeup look more alive and flattering. Start with a small amount, place it slightly high on the cheeks, and blend well. With a little practice, you can adjust the color and placement to match everything from minimal daytime makeup to a more defined full-face look.
The best blush application usually does not look heavy or obvious. It simply makes the whole face look more balanced, fresh, and complete.
https://amberseabeauty.com/
 Discover More From Our Family of Websites
 ZodiacBearing (Astrology, Tarot, Numerology, Angel Numbers & Spiritual Guidance)
 Velourana (Beauty, Makeup, Hair Care, Skincare & Beauty Tips)
 HavenBearing (Home, Living, Organization, Décor & Everyday Inspiration)
 PawBearing (Pet Care, Dog Breeds, Animal Health, Training & Pet Products)
 PsyCatherine (Notes From the Journal of a Psychologist on Real Life)